

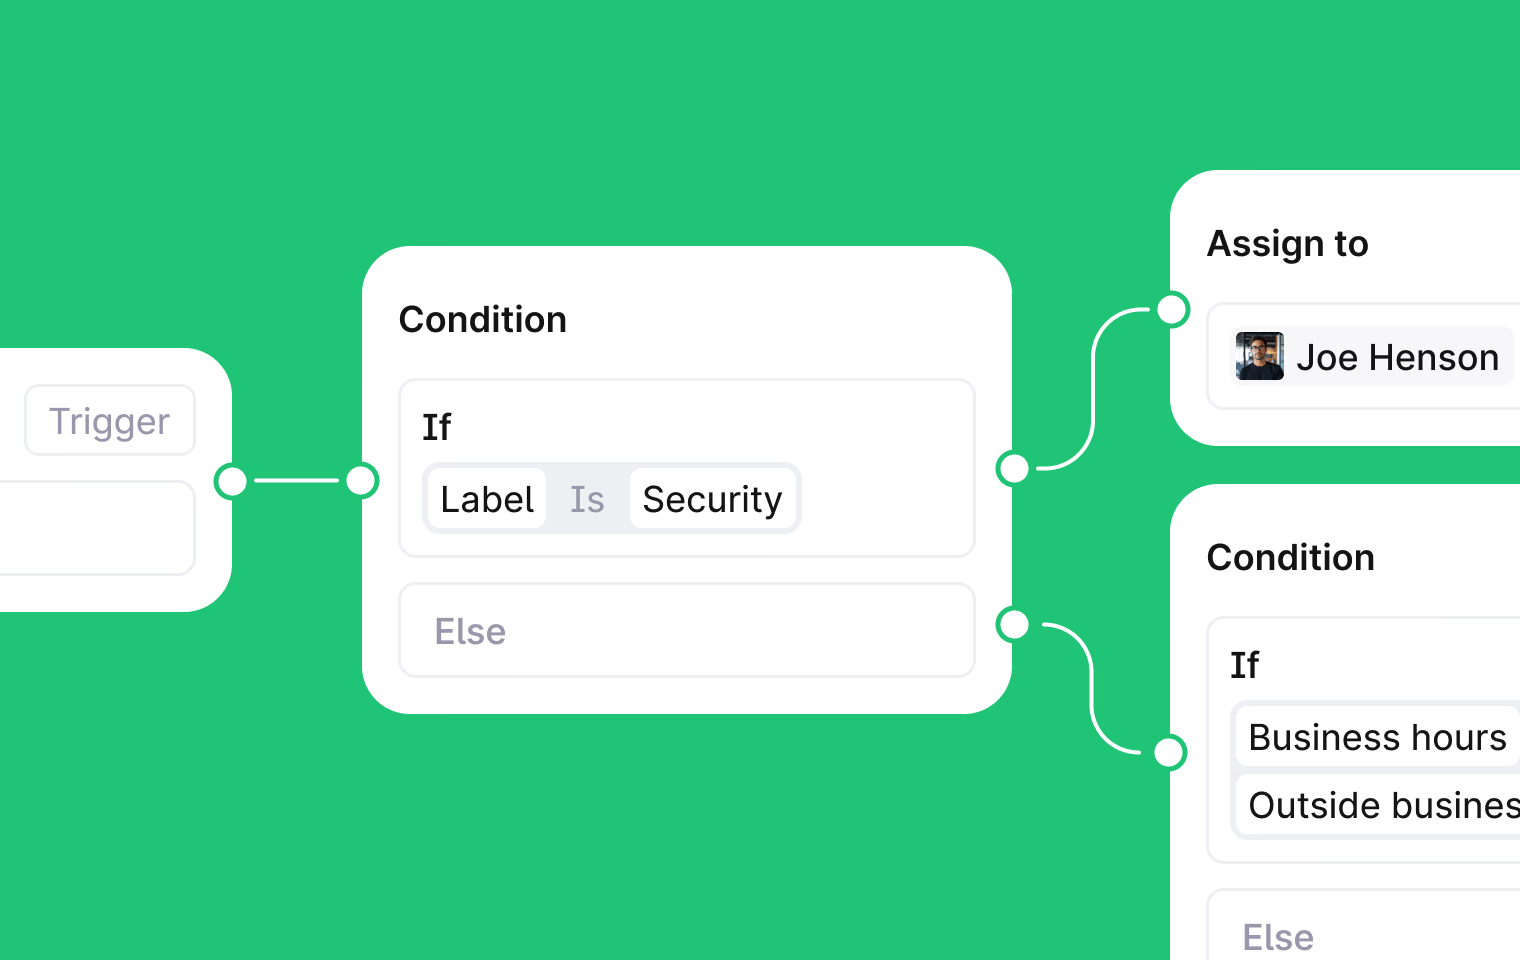
What you can do
- Run multi-step automations when specific thread events happen
- Take different paths based on thread state, labels, tier, channel, or other properties
- Pause for minutes, hours, or days before continuing
- Cancel a pause early if something changes (e.g. the customer replies)
- Trigger workflows manually on a thread or automatically from events
- Set the order several workflows run in when they match the same event
How workflows work
Every workflow starts with a trigger. You can trigger a workflow manually on a specific thread, or set it to run automatically when something happens (like a thread being created or a message being added). After the trigger fires, the workflow runs through steps. There are three types:- Condition steps check whether something is true or false and branch accordingly. For example, check if a thread has a specific label and take different paths based on the result.
- Action steps do something like assigning a thread, setting priority, or sending a message, then continue to the next step.
- Wait steps pause the workflow for a set duration. Each wait step has two outcomes: completed (the wait finished) or canceled (a cancel condition was met, e.g. the customer replied).
Run order
One event can trigger several workflows. When it does, they run one after another, in the order they are sorted on the Workflows page. The order matters when one workflow depends on what another did. A workflow that routes a thread by its label needs the workflow that applies the label to run first. To change the order, go to Workflows and drag a workflow up or down the list. The new order applies to the next event. Runs already underway keep the order they started with. Two exceptions:- A workflow that pauses at a wait step lets the next one start. See wait for.
- Workflows started by two different events are separate runs, and neither waits for the other. See triggers.
Create a workflow
1
Create the workflow
Go to Workflows in the sidebar, click New workflow, and give it a name.
2
Set a trigger
Choose Manual or Automatic, then select the events that should start the workflow.
3
Add and connect steps
Click + on the canvas to add condition, action, or wait steps, then drag between them to define the flow.Condition and wait steps have two branches, Yes/No and Completed/Canceled, which you connect to different next steps.
4
Publish
Click Publish. The workflow starts running against new threads.
Duplicate a step
To reuse a step without rebuilding it, duplicate it. Two ways to do this:- Right-click any node on the canvas and select Duplicate.
- Hold Option (Mac) or Alt (Windows) while dragging a node to place a copy at the new position. The original stays in place.
Limits
- Steps can only move forward. No loops
- Wait durations: 1 second to 1 year